May is for the bay! All month we have been looking into ways to be more environmentally friendly, so that our bay stays healthy and beautiful. In these interesting times, many of us have been dedicating more of our time to gardening. I personally am excited to eat my yummy tomatoes! Did you know you can make your own environmentally friendly fertilizer at home by composting kitchen scraps? Something that can easily be done at home? Yay!

Protect your bay! Compost!
How does composting help the environment?
By composting, you can redirect up to thirty percent of your waste from the landfill, where it would either rot or mummify, back to the earth where it can nourish new life. By diverting your kitchen scraps to the compost pile, you reduce the amount of methane going into our air. This is a big win, since methane is a greenhouse gas that accelerates climate change. In fact, methane is twenty-one times worse than carbon dioxide when it comes to global warming. Using compost on your garden provides your plants with the nutrients they need, so you can skip manufactured fertilizers, many of which include harmful chemicals.
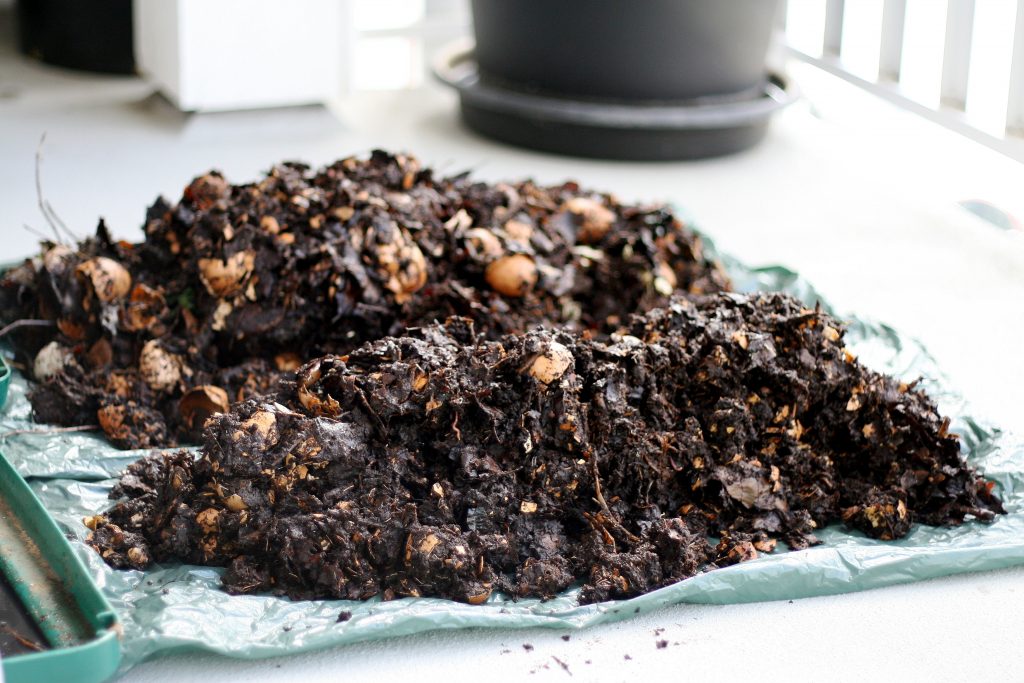
What is the difference between anaerobic and aerobic composting? Which one is better for the environment?
There are two kinds of composting processes, one that uses oxygen and one that doesn’t. Anaerobic composting, meaning composting without oxygen, is the stinkiest option of composting and releases some methane. It requires you to dig a hole, toss in the vegetation, and cover it up with soil. Presto! In a couple months you will have stinky compost and some methane.
Aerobic composting, meaning composting with oxygen present, is the less stinky and more environmentally friendly option. Aerobic composting methods include: worm, bucket, outdoor, and bokashi composting. These methods usually require you to either manually rotate your compost to add air or to make holes in the container to make sure there is some air flow.
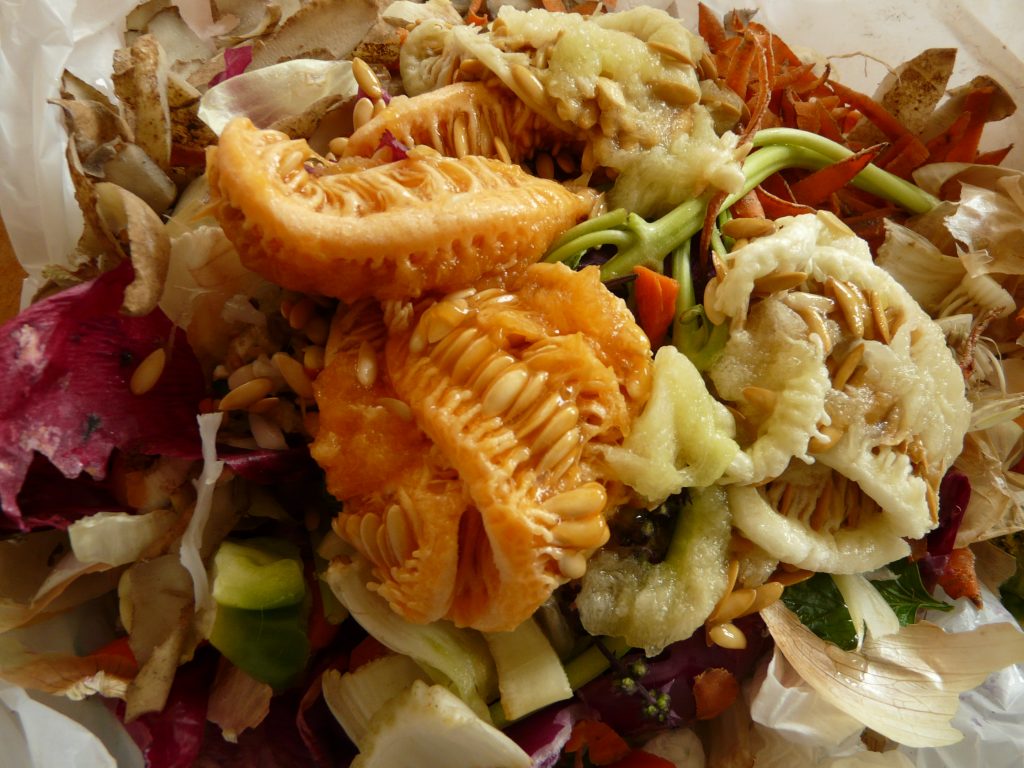
How to start your own compost pile
There are several ways to begin your composting journey; the method that will work best for you depends on the space you have available and what you wish to do with the compost when it’s ready. You can set up an indoor compost, or do it in your yard.
Indoor compost options
One of the biggest issues that you can run into with indoor composts is the smell that comes with it. While aerobic composting methods are less stinky than anaerobic ones, there is still some odor involved. You can generally avoid the smell if you do a worm compost, but if worms give you a squirmy feeling, you could try bokashi composting or cardboard box composting.
Bokashi Composting
Bokashi composting originates from Japan and, though it is an anaerobic process, it relies on fermentation, which creates a sour or yeasty smell, rather than putrefaction, which is what we normally think of as the smell of something rotting. Because of this, bokashi composting can be done indoors with-out much smell.
Click here if you don’t see the video below
Cardboard Box Composting
Cardboard box composting is an aerobic method that results in an earthy smelling compost that you can keep in your living room without anyone needing to plug their nose. The trade-off is that it requires a little more attention, since you need to stir it a couple times a day to make sure it has enough air. What you need:
- A carboard box
- Coco peat (which is made from coconut husks)
- Kuntan or rice husk ash
You can find complete instructions for cardboard box composting in this New York Times article.
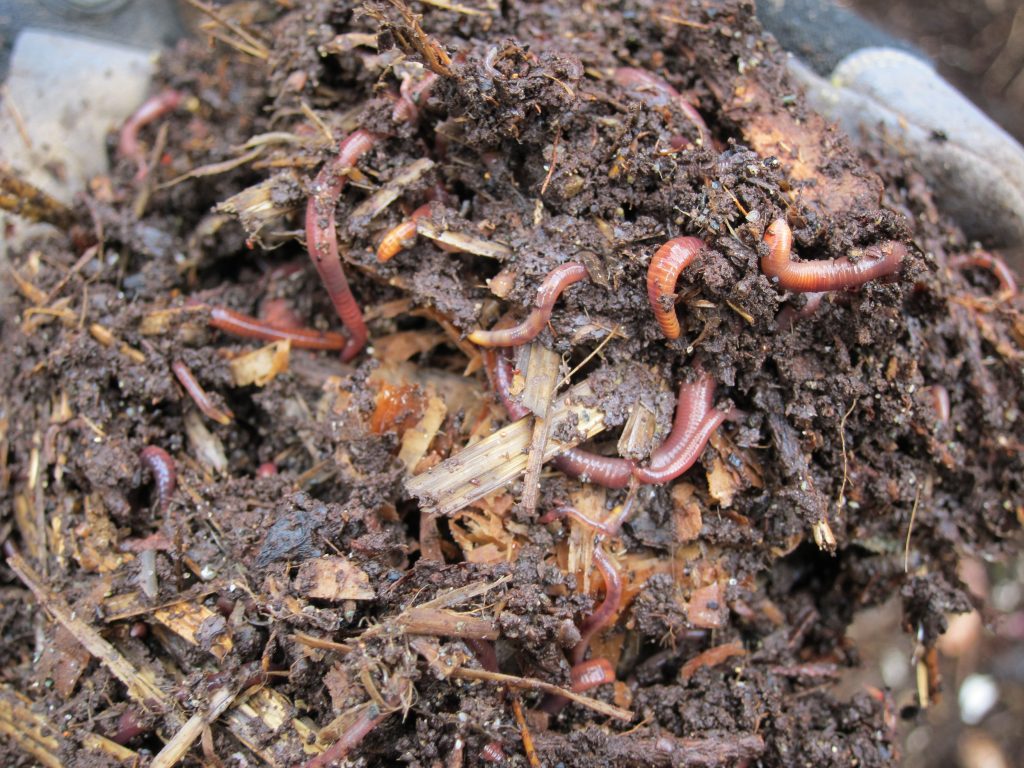
Composting with worm friends
A great way to start composting is by using our friendly earth worms to do most of the work!
What you will need to start worm composting:
- A cardboard box or a plastic bin with holes
- Moist newspaper strips (or non-coated paper)
- Worms (red worms or red wigglers). If you live in the Central Coast, you can buy them here.
- Raw food scraps
You got all the materials, now what?

What you can put in your worm bin:
- Fruits, vegetables
- Bread
- Coffee grounds
- Tea bags
- Dead plants/leaves
- Egg shells
- Uncoated paper
- Napkins
- Coffee filters
What you can’t put into you worm bin:
- Citrus fruits
- Onions
- Garlic
- Leeks
- Shallots
- Fish or poultry
- Eggs
- Dairy
- Greasy food Salty food
- Prepackaged/processed food
- Glossy magazine paper or coated paper
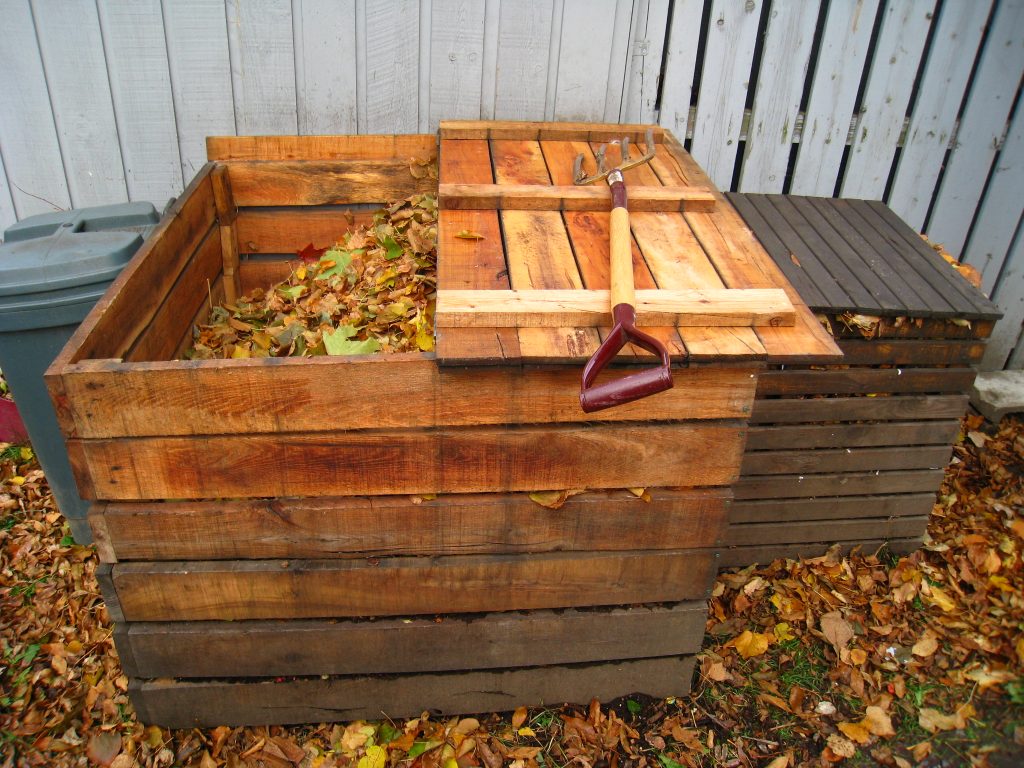
Outdoor Compost
Items that you will need for composting outdoors:
- Bare ground
- Flat–nosed shovel or pitchfork
- Dry material leaves or paper (browns)
- Greens
- Twigs or straws
Now it’s time to start your outdoor composting!
- Lay straw or twigs on the bare ground.
- Then, layer your dry materials and your moist green materials. You want a 1:2 ratio of greens and browns.
- Add water.
- Cover your pile to keep it moist and warm.
- Use your shovel or pitchfork to turn over to the pile every so often, so that it doesn’t go into an anaerobic state.
- Make sure to pay attention to what you can and can’t add to the pile; this will make a huge difference in your compost.
- Notice the smell! The pile should smell sweet. If it smells like it’s rotting, something is wrong.
- Your compost will be ready to use and enjoy in a month or so (how quickly it forms depends on how warm it is outside)
What you can put in your compost:
- Fruits, vegetables
- Coffee grounds
- Tea bags
- Dead plants/leaves (not sick plants)
- Egg shells
- Uncoated paper
- Napkins
- Coffee filters
What you can’t put into you worm bin:
- Citrus fruits
- Onions
- Garlic
- Leeks
- Shallots
- Fish or poultry
- Eggs
- Dairy
- Greasy food
- Salty food
- Prepackaged/ processed food
- Glossy magazine paper or coated paper
- Meats
- Pet feces (they can have diseases that can infect your compost)
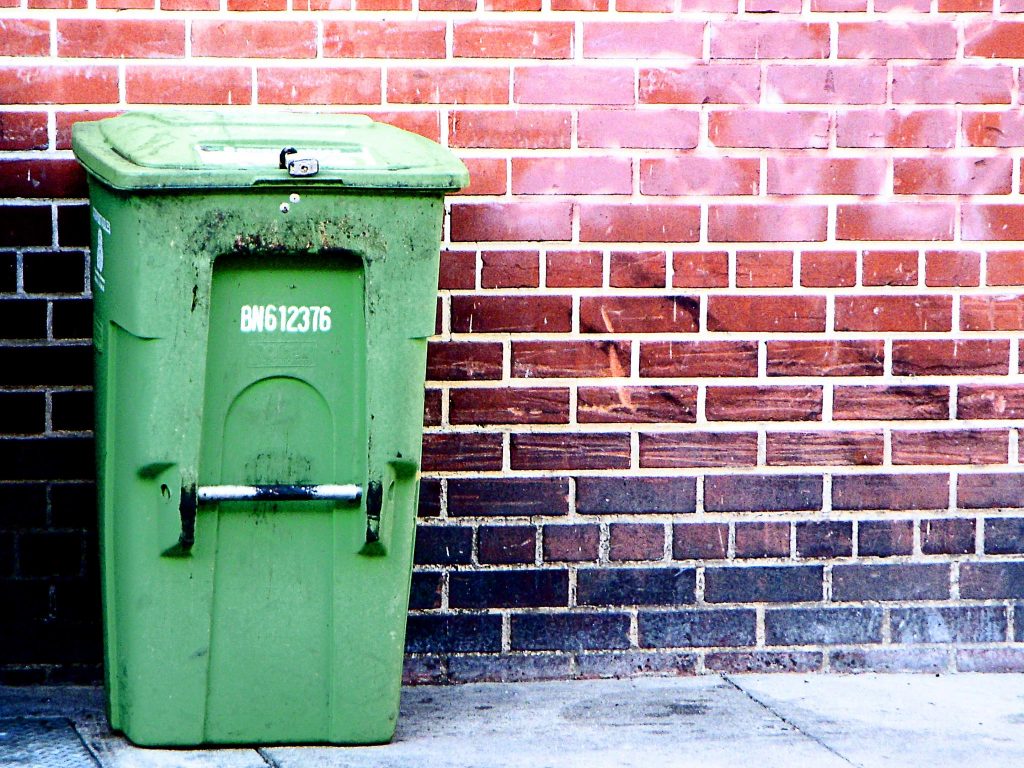
Don’t want to make your own compost at home? Just toss your greens into your green bin
If you live in San Luis Obispo County, you can just put all your green waste in your green bin. It’s as easy as that! Check out IWMA’s website to find out what you can and can’t put into the bin. You can put a lot more in the green bin than could in your at–home compost pile. Every little bit helps the environment!
Here is a general list of do’s and don’ts for the green bin:
Do’s:
- Yard waste
- Leaves
- Grass clippings
- Brush
- Food waste
- Cooked and uncooked meat
- Fish
- Fruits, vegetables, and their peels and rinds
- Pasta, bread
- Grains, like rice and oatmeal
Don’ts:
- Poison oak
- Cactus
- Palm fronds
- Bamboo
- Animal waste
- Dirt
- Rocks or hazardous waste
- Utensils
- Paper
- Glass
- Metal
- Styrofoam
- Liquids
- Oils
- Grease
- Bags of any kind
What can you do with all that compost?
Put it on your plants! If you don’t have any plants, then give your healthy compost to your friends for their garden 😊. You’ll be helping the planet, while giving awesome gifts!
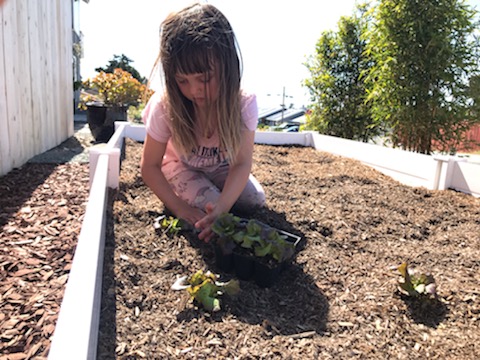
Want to start a victory garden?
With everyone staying at home and avoiding the grocery store these days, more people have been talking about starting victory gardens. Victory gardens started in the U.S. shortly after we joined World War II, when food rationing was in place. Victory gardens, also known as war gardens, came about as a morale booster for those who could not fight in the war, but felt they needed to contribute to the cause. They also eased the pressure on short–supplied grocery stores, while also sending some food to the soldiers at war. These gardens helped unite the country.
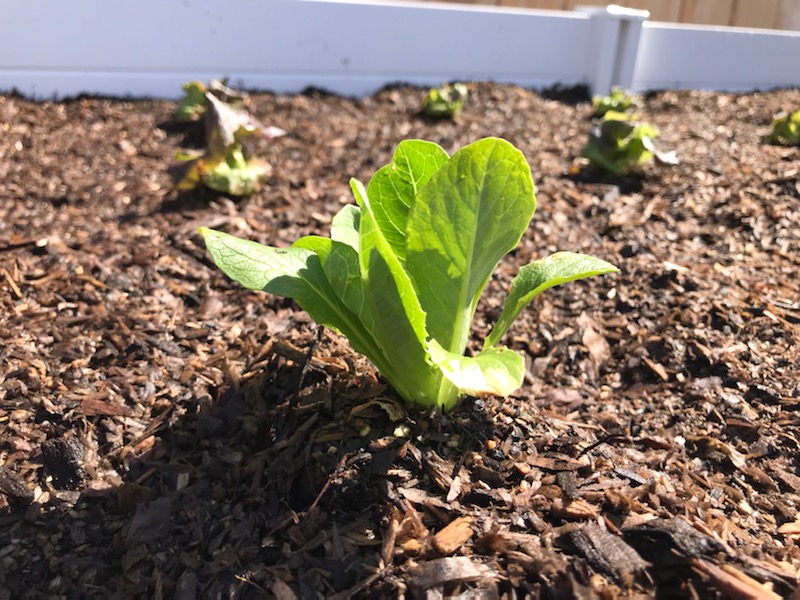
Now in our time of need, many people have brought up victory gardens again. Even though we aren’t rationing for a war, we do need a little pick–me–up and a garden is perfect for this occasion. Especially, when you have energy–filled kids. Growing your own veggies and fruits also helps our environment by reducing the amount of plastic packaging you consume, since you’ll be taking your produce right from your yard to your table. Now, get, ready, set, grow! Have fun and send us your victory garden photos!
Check out your local farmers markets for some veggie starts! You can even make themed gardens such as a salsa garden, tomato sauce garden, or just a little herb garden. Be creative and have fun. We all know we need a little TLC in our lives.
Subscribe to our weekly blog to have posts like this delivered to your inbox each week.
Help us protect and restore the Morro Bay estuary!
- Donate to the Estuary Program today and support our work in the field, the lab, and beyond.
The Estuary Program is a 501(c)3 nonprofit. We depend on funding from grants and generous donors to continue our work. - Support us by purchasing estuary-themed gear from ESTERO. This locally owned and operated company donates 20% of proceeds from its Estuary clothing line and 100% of Estuary decal proceeds to the Estuary Program. Thank you, ESTERO!
- Purchase items from the the Estuary Program’s store on Zazzle. Zazzle prints and ships your items, and the Estuary Program receives 10% of the proceeds. Choose from mugs, hats, t-shirts, and even fanny packs (they’re back!) with our fun Estuary Octopus design, our classic Estuary Program logo, or our Mutts for the Bay logo.
Work Cited